Cleaning and maintaining your own hair system using C22 or Action Solvent as the glue remover, along with Walker Tape and Ultra Hold Glue, requires a careful step-by-step process to ensure the best results. Here’s a detailed guide:
Materials You’ll Need:
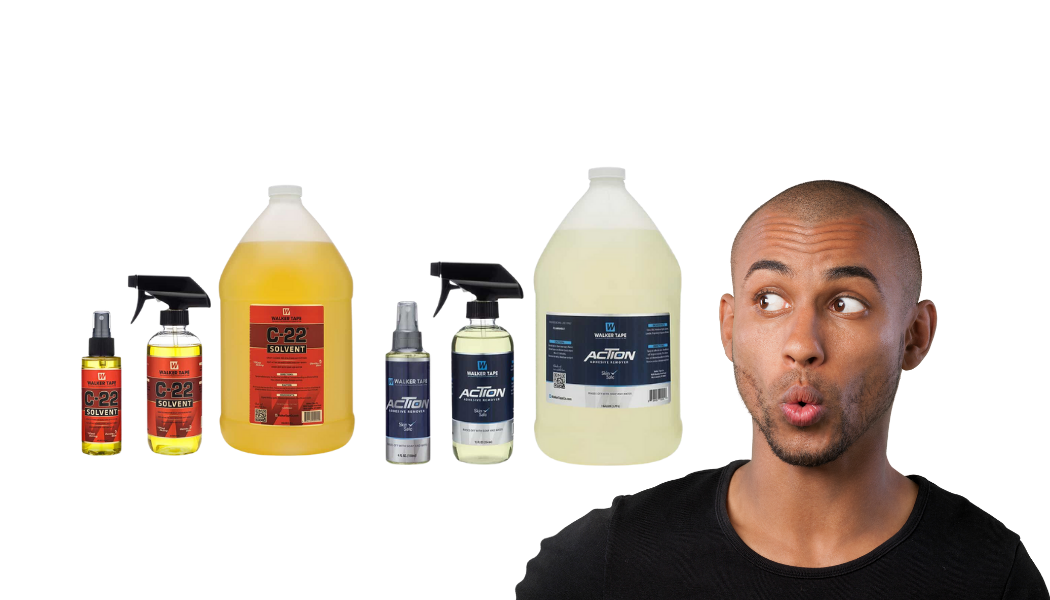
- C22 or Action Solvent (glue remover)
- Walker Tape (or your preferred tape)
- Ultra Hold Glue (or your preferred adhesive)
- Cotton balls or applicator pads
- Mild shampoo
- Warm water
- Towel
- Hairbrush or comb
- Mirror
- Rubbing alcohol (optional)
Step 1: Prepare Your Workspace Ensure you have a clean and well-lit workspace with all your materials within easy reach.
Step 2: Remove the Hair System Carefully remove your hair system from your scalp, starting from the front and working towards the back. Gently peel it off, being cautious not to stretch or damage it.
Step 3: Apply Glue Remover Using cotton balls or applicator pads, apply C22 or Action Solvent to the edges of the hair system where the glue or tape is attached. Allow it to sit for a few minutes to soften the adhesive.
Step 4: Gently Remove Adhesive Once the adhesive has softened, gently peel off any remaining glue or tape residue from the hair system. Be patient and avoid pulling or tugging to prevent damage.
Step 5: Clean the Base With the adhesive removed, clean the base of the hair system using a cotton ball or applicator pad soaked in C22 or Action Solvent. This will help remove any lingering adhesive residue.
Step 6: Clean Your Scalp While the hair system is off, clean your scalp using a mild shampoo and warm water. Gently massage the shampoo into your scalp to remove any remaining adhesive residue. Rinse thoroughly and pat your scalp dry with a towel.
Step 7: Apply New Adhesive With both your scalp and the hair system clean, you can prepare to reattach it. Apply Walker Tape or your preferred tape to the perimeter of the hair system base. Alternatively, you can apply a thin, even layer of Ultra Hold Glue to the base. Follow the manufacturer’s instructions for adhesive application.
Step 8: Position and Attach the Hair System Carefully position the hair system on your scalp, ensuring proper alignment. Press it down firmly but gently to secure it in place. Use a mirror to assist with precise placement.
Step 9: Style and Groom Once the hair system is securely attached, style it as desired using a hairbrush or comb. Ensure it looks natural and blends seamlessly with your existing hair.
Step 10: Clean Up Dispose of used cotton balls or applicator pads properly. Clean your workspace, and store your hair system maintenance products in a safe place for future use.
Optional Step 11: Remove Residual Adhesive from Base If there is any remaining adhesive on the base of your hair system, you can use rubbing alcohol applied with a cotton ball or applicator pad to further clean it.
Regular maintenance and proper cleaning will help extend the life of your hair system and maintain its appearance. Always follow the specific instructions provided by the manufacturers of the products you use, as product formulations and recommendations may vary.